In my previous post I talked about the strip down, pulling the engine to bits precisely enough to replace the problematic part and then putting it all back together again.
Or not.
As I said before, the inherent costs in tearing down and rebuilding a motor mean that while it is apart it is a very, very good idea to look for anything else which looks worn and replace it.
Sounds simple.
The challenge however is working out just how far to go in terms of replacing parts, and determining how worn is too worn. If parts were cheap then it wouldn’t be such an issue, but to put some perspective on it, replacing just one piston on the FZR with original replacement parts would cost around AUD180 for the piston, plus AUD160 for a set of rings and $10 for a new circlip to hold it all together.
That’s $350. Per piston. $1400 to do all four.
I don’t know how much it would cost to replace an entire engine with original parts, the thought is simply too scary. Thousands. Lots of thousands.
This then begs the question of what is likely to wear out, what is cheap to replace, and how one can tell whether parts are indeed worn enough to warrant replacing.
The problem for me specifically is that I’d never seen the inside of a really worn out engine for a bike like this, so it was tricky to know what things should have looked like. That said, pretty much everything in there looked in reasonably good nick, with some wear on surfaces rubbing against each other, but nothing that looked properly worn as such.
That said, eyeballing can only give you so much, and one excellent thing about the Haynes manuals is that they tell you for many parts how they should measure up, and what the tolerances are before they are considered too worn.
This leads to a need to measure, and to measure very accurately.
I should pause and mention my philosophy on buying tools, which is more or less that the amount of money I am willing to spend on any given tool is proportional to the product of the amount that I’ll need to use it and the impact of having a good quality tool to the function being performed. In pseudo-mathematical terms…
Cost = k x Usage x Impact
Where k is some constant, or something.
Anyway, I mention this because when it comes to measuring internal engine parts down to a couple of decimal points of a millimetre, it seemed like a smart move to go for something at least decent in the way of a vernier caliper. These little fellas range from $20 on eBay from somewhere in China through to a few hundred for something serious. I set my sights at the middle ground, and after a visit to the helpful folks at Adelaide Tools walked away with a hundred dollar Moore & Wright, which seemed good enough without being silly.
This new addition let me measure the diameter and roundness of each piston, each bore (the cylinder that the piston moves in), the crankshaft journals (the part of the shaft that rotates within the bearing), the clutch plates/springs and various other bits and bobs. The results? Spot on within tolerance in all cases, which was an excellent start.
Going further, it was important to look at whether or not the bearings themselves needed to be replaced. The general consensus on the internet seemed to be split into two camps:
- Replace them regardless, it’s cheap insurance; or
- Measure them, and if they are within tolerance then just leave them alone.
Measuring wear in these requires another magical tool, and a very cheap one. When I call it a ‘tool’, I’m probably wrongly giving it that level of nomenclature – it’s more like a consumable, commonly known as Plastigauge or Flexigauge. What is it? To look at it, you’d barely see it – it looks like a tiny, fine strip of something, barely wider than a strand of cotton.
What it does though is quite awesome.
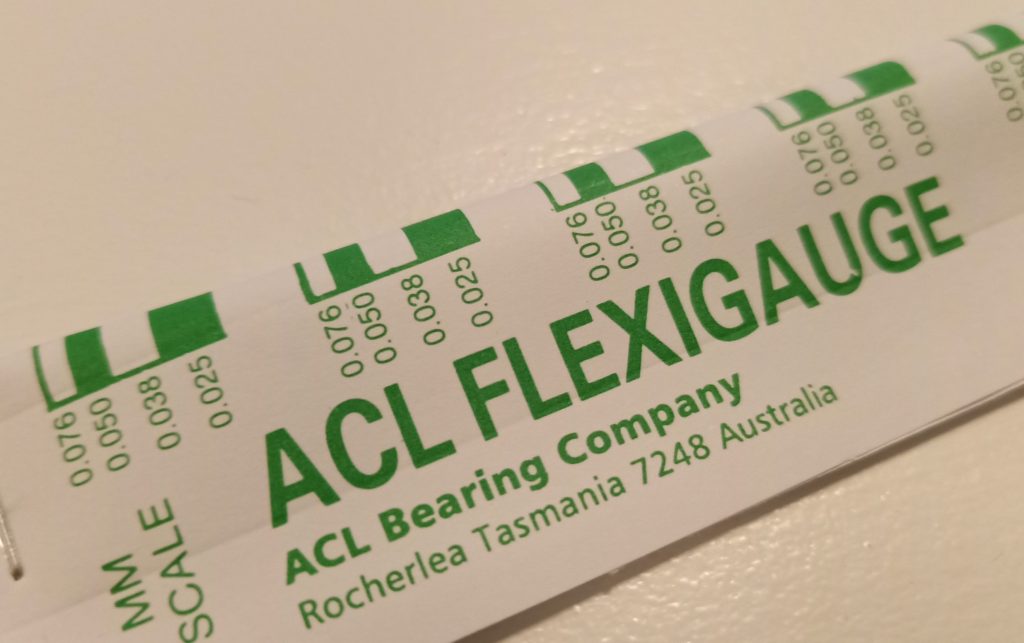
When squished between two metal surfaces, it flattens out in a very precise way. By laying small sections of it in between the journals and the bearings and tightening everything down according to the manufacturer’s torque settings, then undoing the whole lot and inspecting the squished plastigauge, one can measure it against the scale shown on the packet to get a measure on the gap between the two metal surfaces. Too small a gap, not enough oil can lubricate the gap. Too big a gap, and the shaft will rattle around like a you-know-what in a shirtsleeve, as my old mechanic mate used to say.
Interestingly enough it was slightly tricky to find the stuff, even though it was something that I learned about on the old Datsun rebuild as being a critical part of the measuring process. I asked at a couple of different well-known auto parts places for it, and got responses ranging from blank looks to one dear lad walking me over to the dashboard gauges section to see if they had one there (well I guess ‘plastigauge’ does have the word ‘gauge’ in it). I suspect I’d have had more luck if I was asking for a new set of speakers… Anyway, eventually an old-timer helped me out to find some, and I was able to measure my gaps.
Which were also spot on.
The piston rings too were one which tended to split opinions. Some argued that I should just replace them regardless, but to the naked eye they all looked in very good nick, as did the piston grooves, and at a combined cost of around $600 to replace them I erred on the side of risk.
All other shafts and transmission bits including the gear selector forks showed no signs of noticeable wear, which tend to be one of the first casualties of wheelie abuse on FZRs.
Overall, the components all looked in really good nick, so the replacement parts were limited to all gaskets (unavoidable), circlips that hold the pistons on their wrist pins (too cheap to ignore), fresh oil seals on all potentially leaky bits (even though the ones I ripped out didn’t look at all worn either, but again too easy to replace). This kept the cost to a reasonable level, replaced the one part that necessitated the strip down (which cost all of four dollars), and felt like a balance between building a motor to last another fifty-thousand kms and one which would last me as much as I intended on riding it, i.e. not much.
There was one other thing I noticed apart from the erroneous ‘nozzle’ while stripping down and measuring the parts, and that was that the pistons had been installed back-to-front. Each piston has a small arrow which is meant to point forwards, but these were pointing rearwards. There was only a very small difference in the shape of the top of the piston, but it led me to wonder what the hell the person building the engine before me was thinking. Did they not have a Haynes manual? Did they know something I didn’t? Pop the pistons in backwards and you’ll get another ten horses at the top-end guaranteed. Had this thing actually run since being rebuilt? The general excellent condition of the internals made it plausible that the thing hadn’t been run – but why not?
I should mention that the alleged story from the seller was that they purchased it to run in another, similar FZR, but had then changed their mind and swapped it out again. The price hadn’t been extravagant, but it wasn’t dirt cheap either, and to this day I’ve no idea if this was the genuine reason for the sale, but I would find out something later in the story that would point to a very different driver for the sale…
That said, and with all parts identified, an order was put in through one of the numerous OEM Yamaha parts sites, and the waiting game began for the parts to arrive from Japan so I could get on with the rebuild.
In the meantime however, I’d need to start looking at the rest of the bike and work out what else needed to be done while the engine rebuild was on ice.
Next time: Painting on the cheap.