In my last post I came to the sobering realisation that to get to the mystery blockage I would need to strip down the entire engine.
This wasn’t the absolute first time I had done this. I remember the last time, it was 1990, I was eighteen, the vehicle was a Datsun 180B, and I got to play apprentice to a mate who was himself an apprentice mechanic (although he was a proper one).
The downside – this was no 1977 Datsun, it was a newer, and it was a motorbike, which to be was a black box of mystery, in particular how the transmission worked. The upside – at least I had an excellent workshop manual, another motor that I knew worked (even if it was knackered), and a little thing called the Internet…
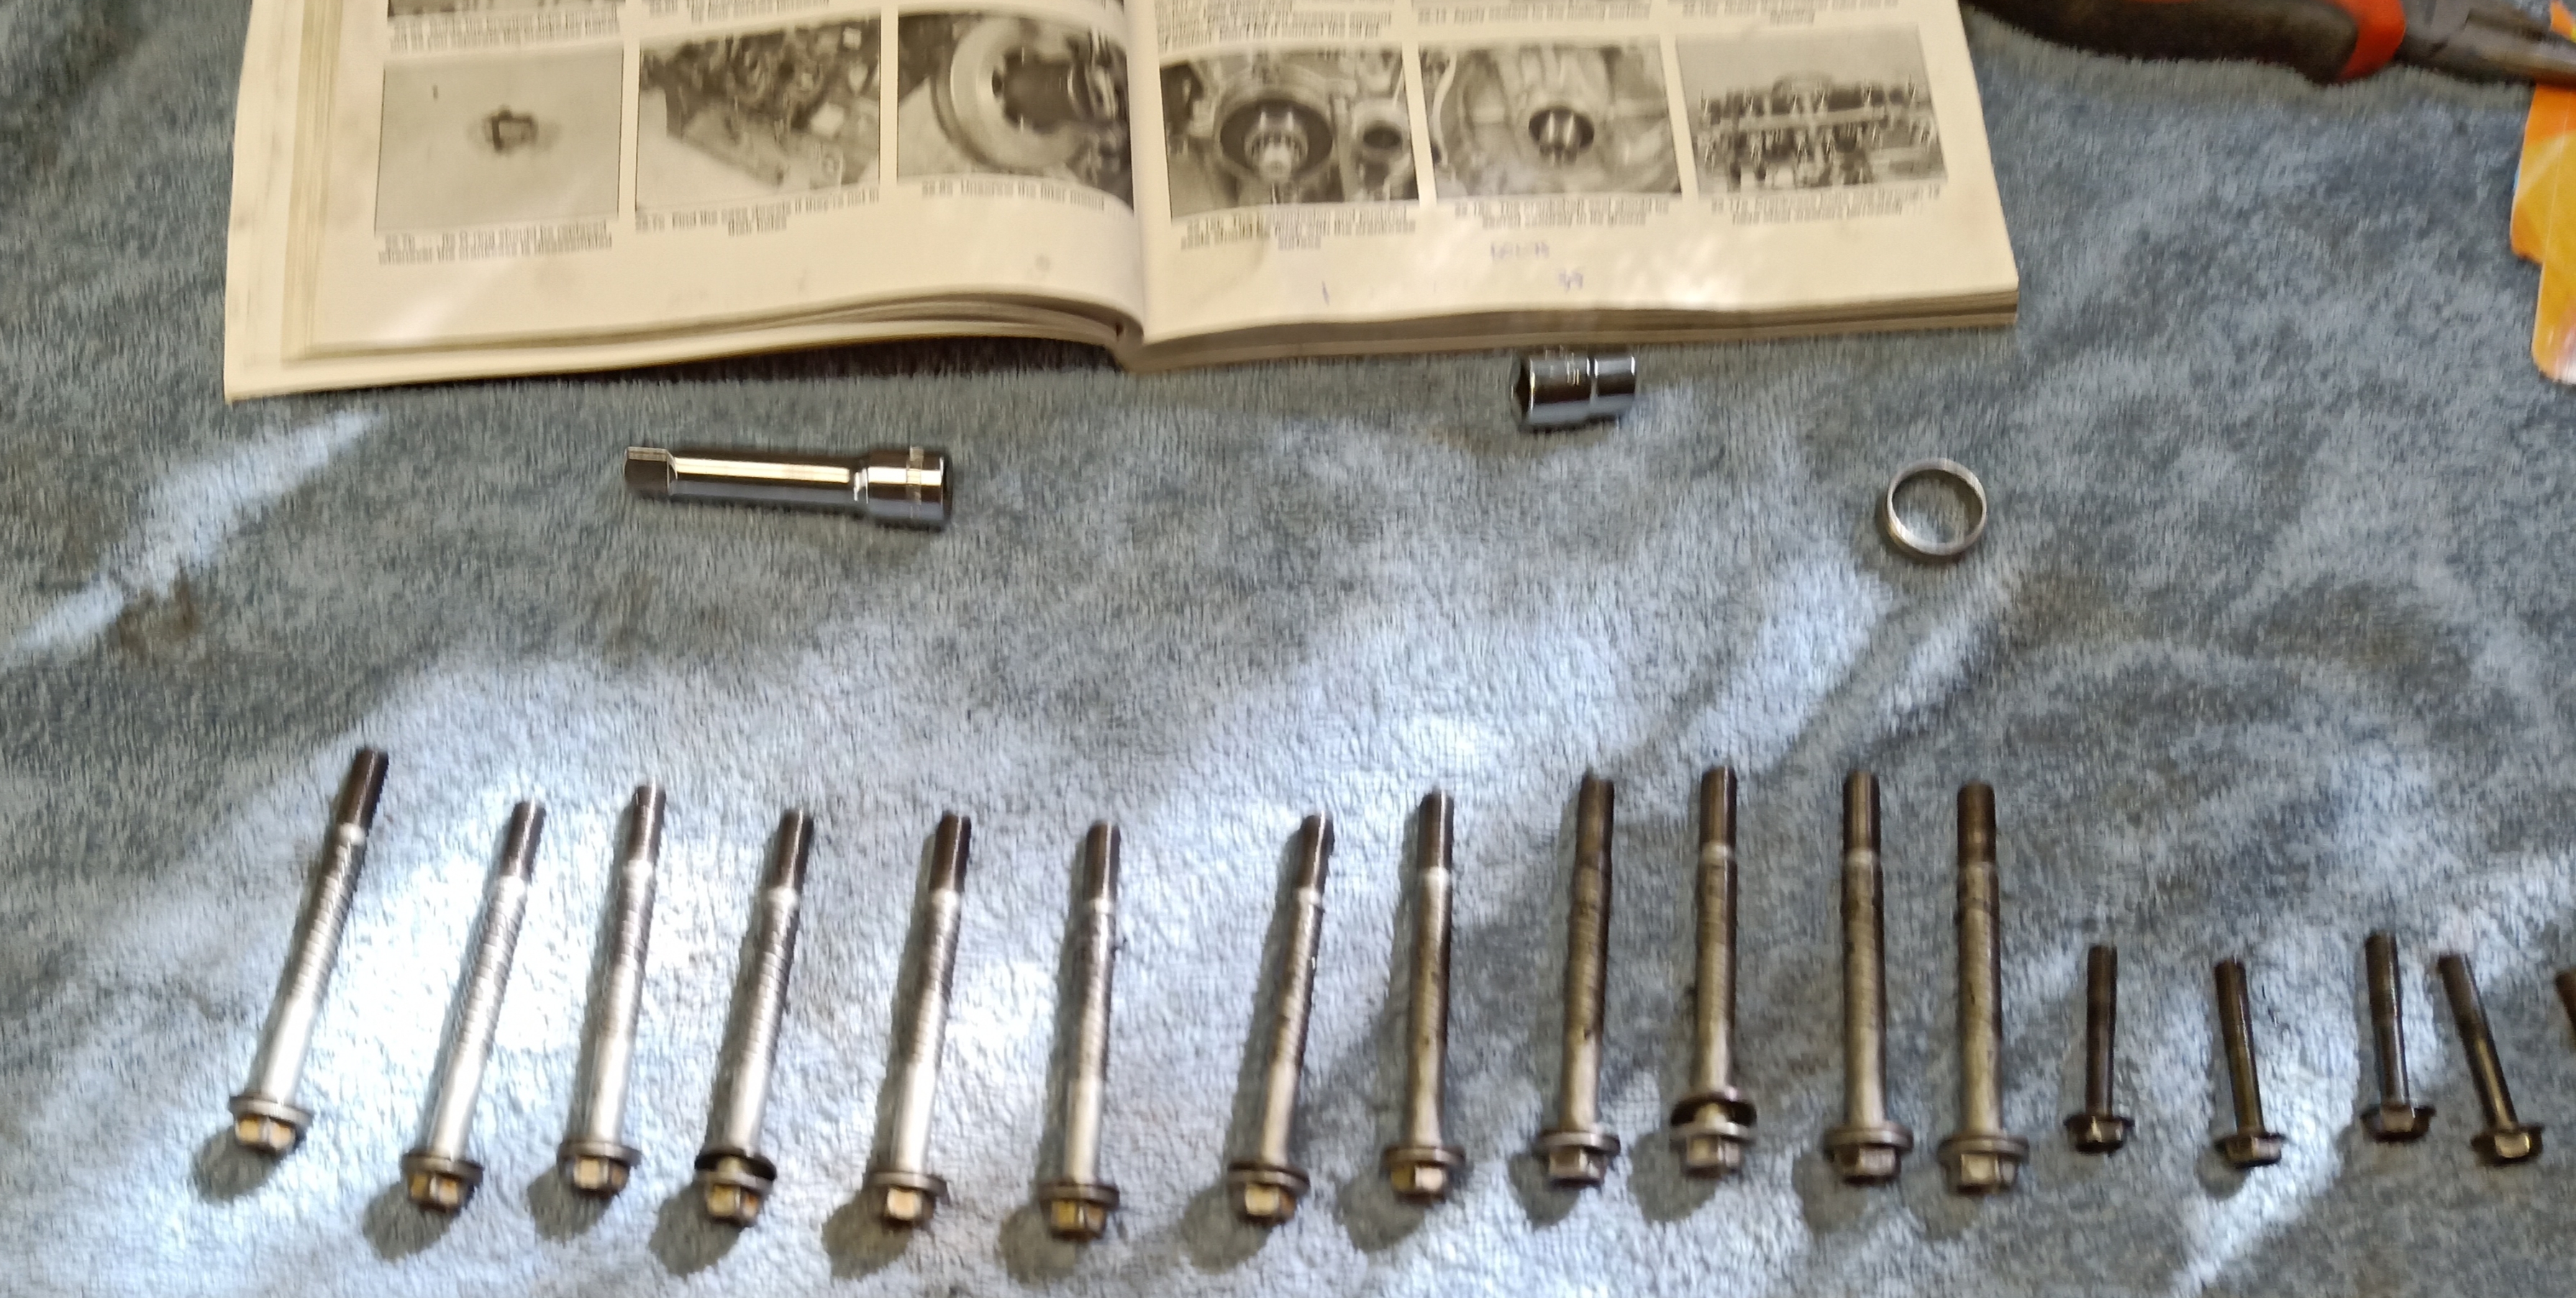
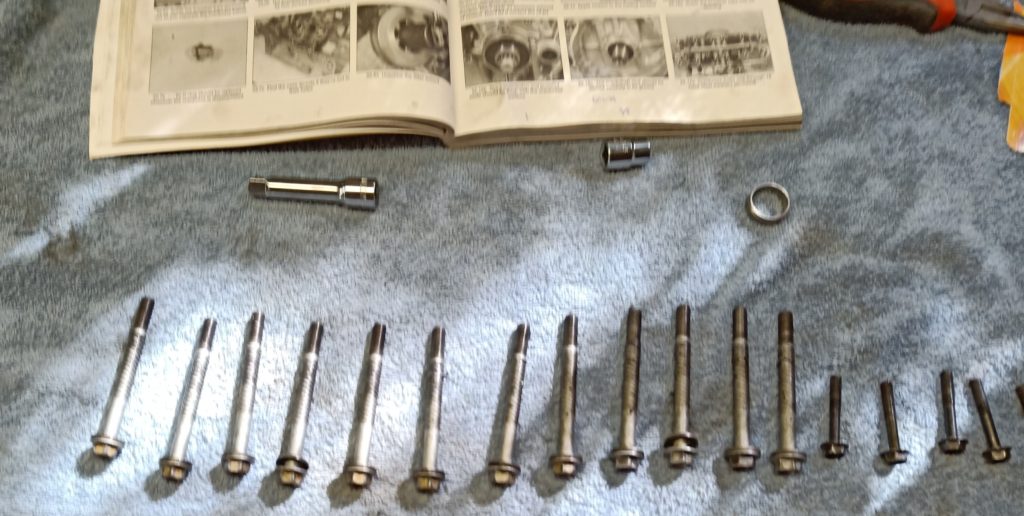
Reading around the forums the advice tended to be very similar. Be organised. Be clean. Bag and tag everything in zip-locks. Go slow and steady.
Stripping down wasn’t that bad – the layout of a motorbike engine for the most part wasn’t that different from a Datsun. Start from the top. Off with the valve cover. Off with the cams. Off with the head. Off with the block (which is separate from the crankcase, a bit different). Whip out a few other bits like the starter motor, clutch, water pump and so on. Finally, undo a whole lot of bolts and voila – the innards are exposed.
Bagging and tagging parts took time, but it was absolutely necessary. For those who have never done this before, the crankcase in particular has twenty-seven bolts, all which need to be taken off and reinstalled in a particular order, and many of which are different. This was made even more different by having one bolt (number 20) not existing – it looks like it was missed in the writing of the manual, and I spent about fifteen minutes attempting to work out how I had lost a bolt…
Once all parts were dismantled, the mystery blockage was clearly identified, and as it turns out I was right. There was the part, with an aperture smaller than it needed to be to let a clutch pushrod pass through, sitting at the end of one of the transmission shafts…
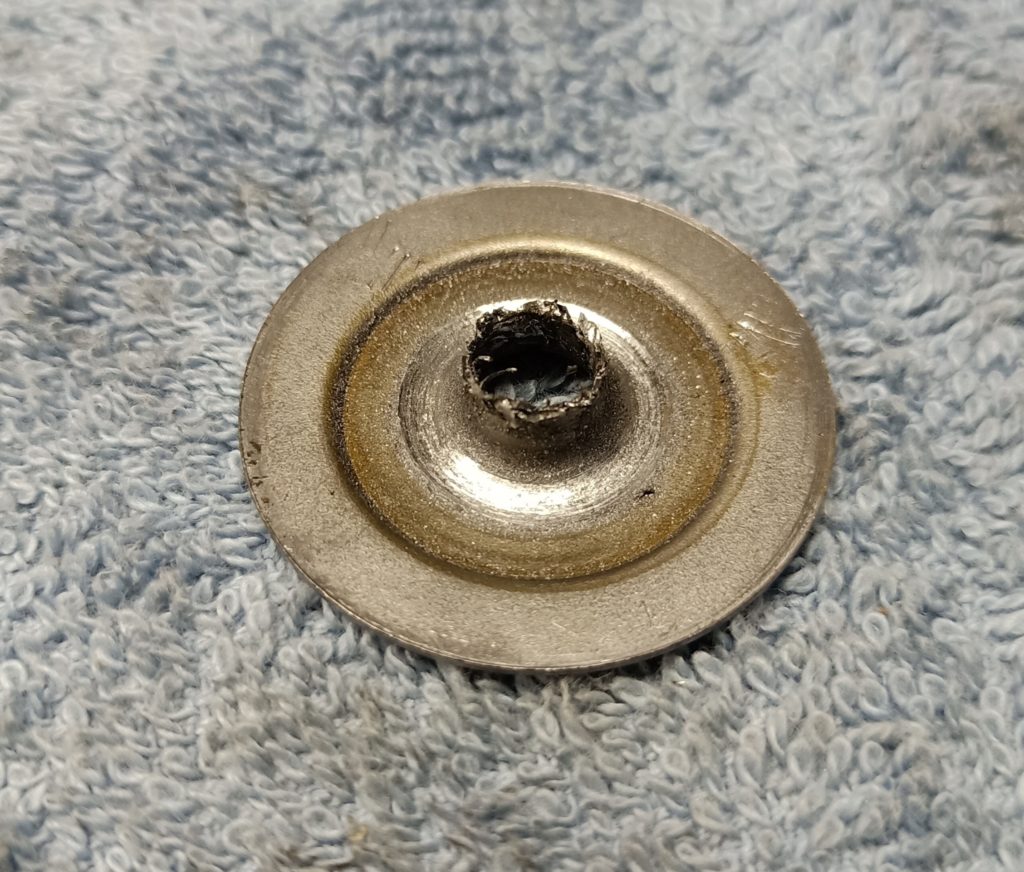
I could see what my ham-fisted drilling had done to this small piece, which I located on a parts diagram as being called a ‘nozzle’, performing a function that to this day is a mystery to me.
All I could deduce at this point was that it must have been the wrong part, given the size of the aperture compared to the pushrod. All that would need to be done was to install a new one of these built to fit the FZR600 rather than whatever the hell this had come from, and then to put it all back together again. How hard could it be?
And this is where it, once again, got complicated.
Rebuilding an engine isn’t something which one does every day, in fact unless one is working on race bikes then it probably isn’t something that one wants to do at all, ever, unless it’s really, really necessary. Putting aside the time required (many hours for a novice like me), the costs at the very least include a new set of gaskets and a bunch of oil seals, which for the FZR is likely to cost perhaps AUD300. This means that every rebuild carries unavoidable, and non-trivial, costs. This means that while a motor is apart, it makes economic sense to replace anything that looks worn, so it seemed logical to look at what I should be doing while the whole thing was in parts, and this will be the subject of the next post.
Next up: How worn is too worn?