I’ve mentioned before that this project has been akin to a war – long periods of inactivity followed by short periods of intense excitement. The last week has seen a flurry of activity not seen in the past three months since the project started.
First was the completion of the valve clearances, with all being within tolerance, even if the one single one that was close to the boundary of tolerance was also the one that had a shim get stuck in its valve seating home. No matter how much I attempted to use magnets, picks and swearing to get it out, it wouldn’t budge, so I figured it can wait until the next service.
Second was the confirmation from the local Yamaha World team that the markings on the camshaft being slightly out is a symptom of a stretched timing chain. Their sagely advice was ‘it’s a no brainer to do while the engine is apart, but it’s a bit fiddly once it’s all back together – gets easier once you’ve done half a dozen of them though’. Another one that can wait until the next major service, when I’ll get someone with more experience to use a chain splitting tool to feed a new one through the engine. The potential for me to drop either a connecting pin or the entire chain down into the engine and trigger another rebuild is just too high. My nerves couldn’t take it. I’ll pay the few hundred to outsource the anxiety. The upside – nothing to worry about in the short term, particularly if the bike is not going to be seeing any heavy duty action.
After a brief hiatus thanks to what looked like a nasty cold about to hit but ended up to be just a minor annoyance, the time came to slot the motor back into the frame, and in came the cavalry – Shaz, Pirate and the ever dependable Kahiwa.
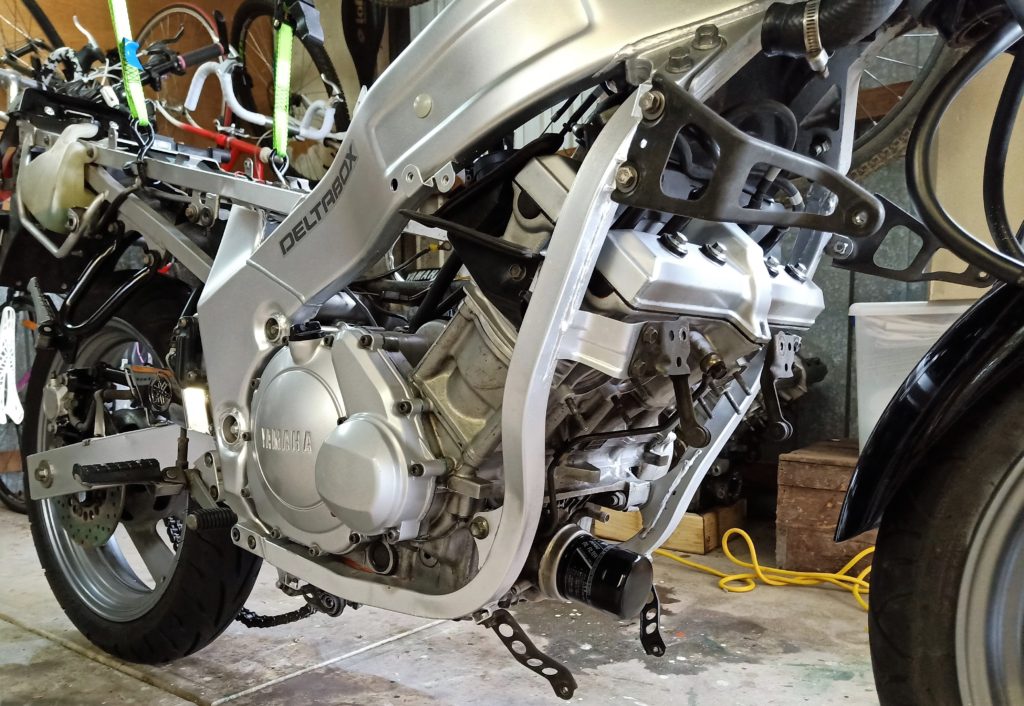
Slotting the motor back in was one of the more straightforward and rewarding parts of the project, and took about thirty minutes, which in high speed looks like this:
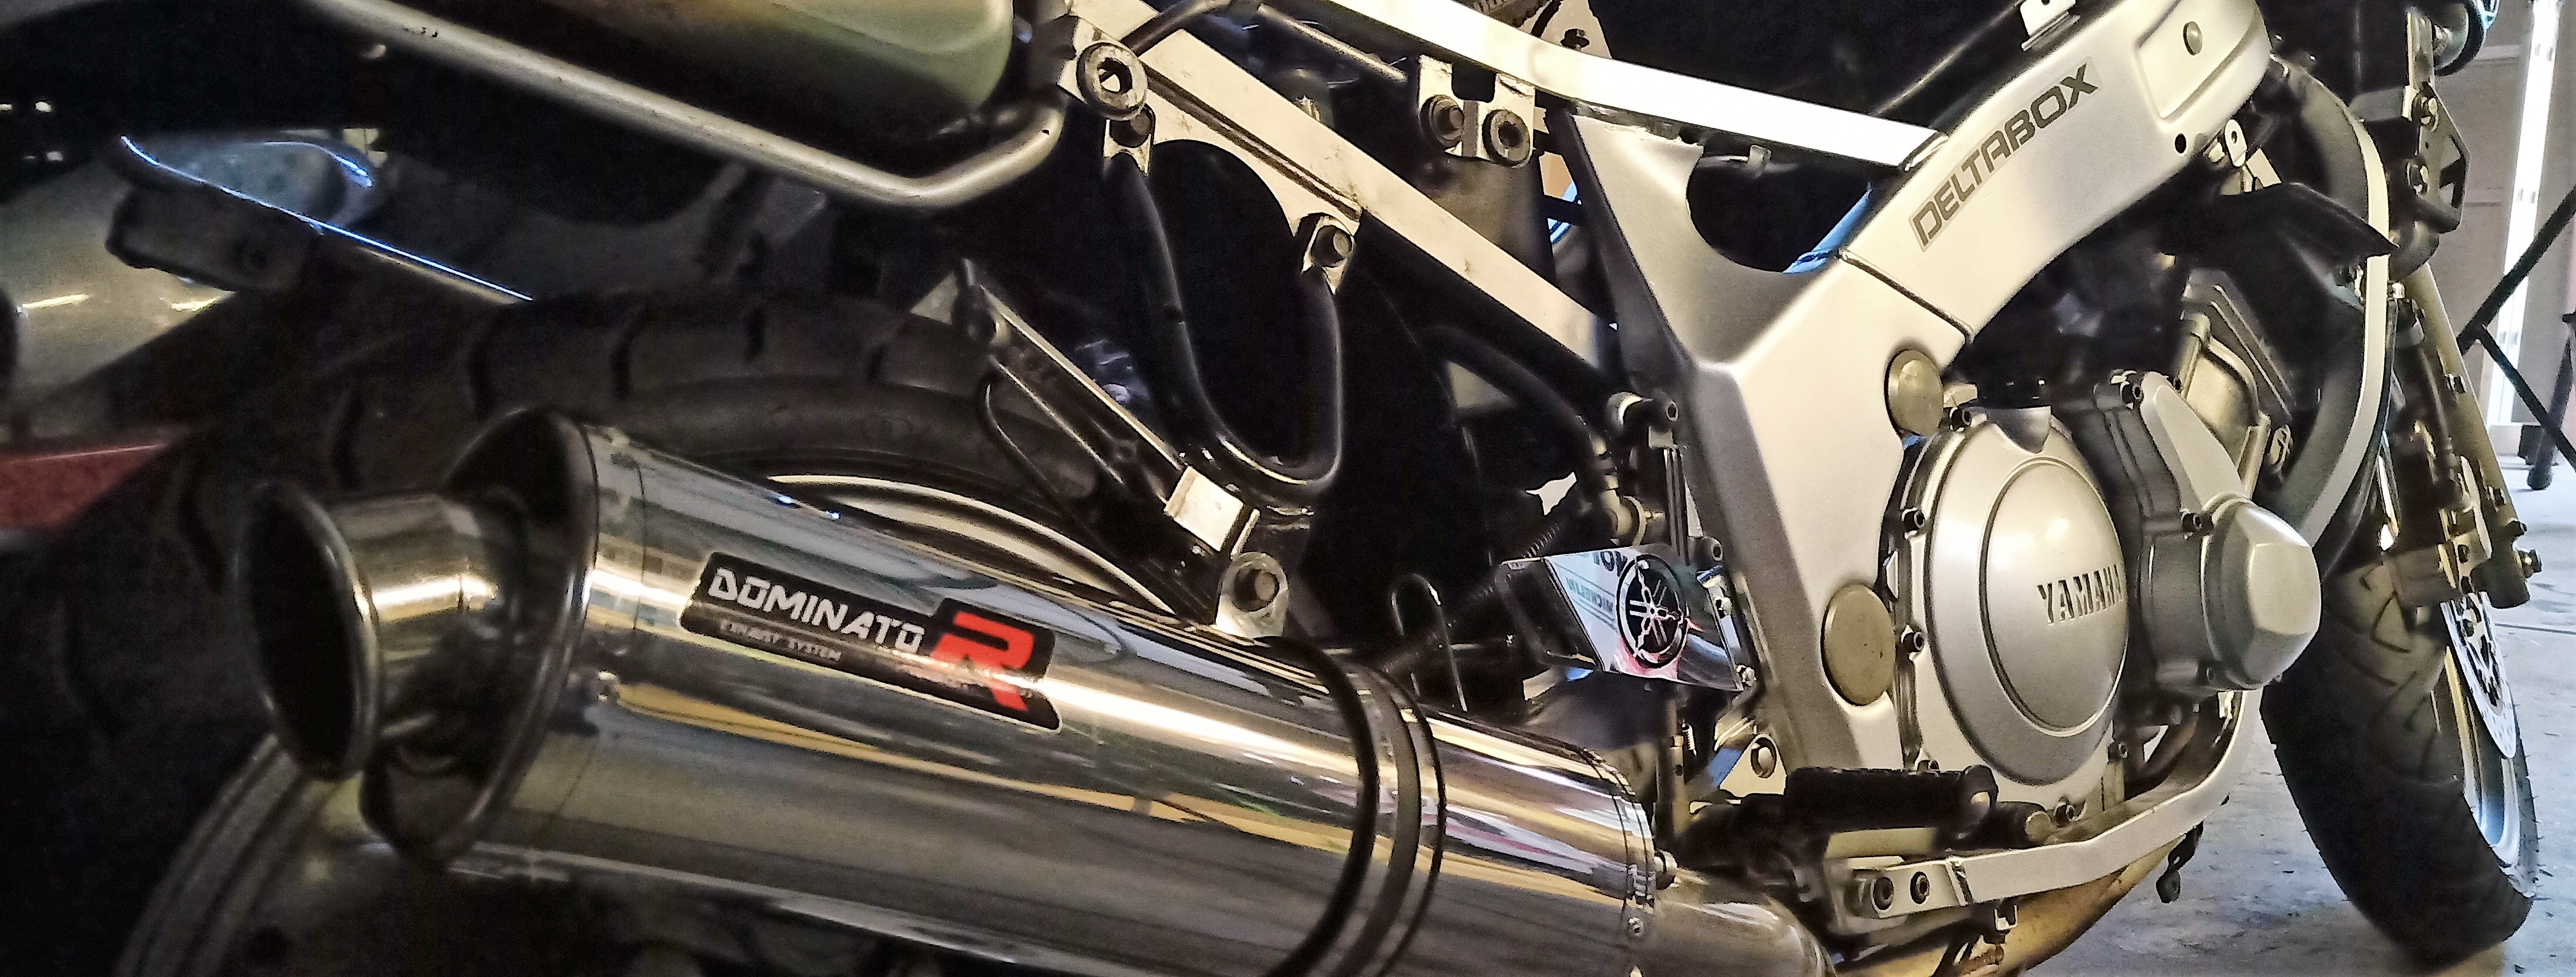
After this, it was a blitzkrieg of activity hooking things back up. Cooling system reinstalled. Various electrical connections – starter power, alternator, Earth, sidestand sender, oil sender, neutral sender hooked up. Carburettors (which were right bastards to get back on) back on. Throttle and choke cables connected. Airbox (which was also a right bastard to get back on) installed. Front sprocket back on and chain hooked up. Clutch mechanism installed. Gear shifter reconnected. Exhaust headers connected. Brand new end can hooked up.
This was also a time where there was a well-worn path between the project bike and the Victorian parts bike, working out where various bits were connected and routed that I’d managed to forget since the original tear down. If nothing else, the Victorian parts bike was invaluable as a reminder of one which is complete and at least running (not to mention being a good source of the occasional stolen part).
After most of the process was done it seemed like a good time to put some oil in, which led to one of the many moments of pants-shitting fear that has struck me during the project. After filling up the motor with the required 2.5l of semi-synthetic Yamalube I noticed a drop of oil on the ground. Investigation showed that the source was the oil drain plug. Whoops – easy mistake, forgot to tighten it. Turning the screw led to, well, the screw continuing to turn without tightening. This led me to the terrifying realisation that at no point had I attempted to torque up the oil drain plug. Was this the reason the motor had been sold, that this exit point had been threaded and could no longer accept a bolt? Had I blown the whole thing by not checking such a simple detail? Backing off the bolt a fraction of a turn had it dropping into my palm, quickly followed by around 2.2 of the 2.5 litres of fresh oil, some of which ended up on the shed floor and the rest in a drain container already half full of old oil. Putting aside the irritation of losing $25 of oil, I was nearly in tears thinking that I was back to square one again, and would somehow need to work out how on Earth I could get a new plug machined into an aluminium case. In despair I tried another sump bolt that I had purchased for the rebuild but not used – it fit.
It tightened.
The seller of the bike had, among his other life choices, fitted a sump bolt that didn’t fit, and I hadn’t checked it. Checking the bolt showed only a tiny amount of aluminium taken from the thread on the case, and refilling the engine with oil showed that it all held this time. Disaster averted.
The next test was to fill the cooling system with water – after the oil experience I decided not to use $22 a bottle coolant for the test, for fear I might find a leak. It turned out to be a good call.
I first noticed a small drip happening from a lower coolant pipe, one which connected into the water pump, using a metal-on-metal connection. I had installed an o-ring that looked like it should fit, but it wasn’t creating a seal. On looking at an exploded parts diagram I could see that there was no o-ring there, so that one was easy – remove pipe, remove o-ring, reinstall pipe and try again, or try with another o-ring, or just keep fiddling around until it created a seal.
While I was thinking about this and continuing to fill the engine I noticed something far more concerning – water pouting from two until then unnoticed drain holes in the block of the motor. Well shit. I checked the old motor and there were two bolts in the holes on that one, and on checking the parts website these bolts needed – you guessed it – two little gaskets to make a good seal. Knowing that this would require yet another trip to Yamaha World I decided that this was a sign from the Great Magnet that it was not going to be the day that I was going to press the starter button.
The third and ultimate confirmation of this was seeing another puddle of fluid on the ground – this time fuel. The fuel petcock was leaking. Taking this off and exploring the source of the leak showed me that my cheap-ass eBay petcock didn’t have the greatest of seals at the join on the tank, and was slowly leaking petrol onto the engine. Tank off then, and fiddle around with some fuel-resistant sealant on the join between the petcock and the tank, and leave it overnight to set.
I have said that it was a day of huge progress, but it was also one that was incredibly frustrating. I had started the day thinking I had a seriously good chance of hitting the starter button, but with three critical blockers and my patience wearing thin it was clear that it was going to be a few more days more of waiting before I had the new gaskets (the bolts I could harvest from the old motor).
I had to remind myself though that it had been a day and a bit of massive progress. It almost looked like a motorbike again. It was now within striking distance of being ready for the final test.
In an attempt to finish on a high note, I got out the resprayed upper fairing and connected it back up, just to see a little more of what it would look like once I had ironed out the last few little hiccups.
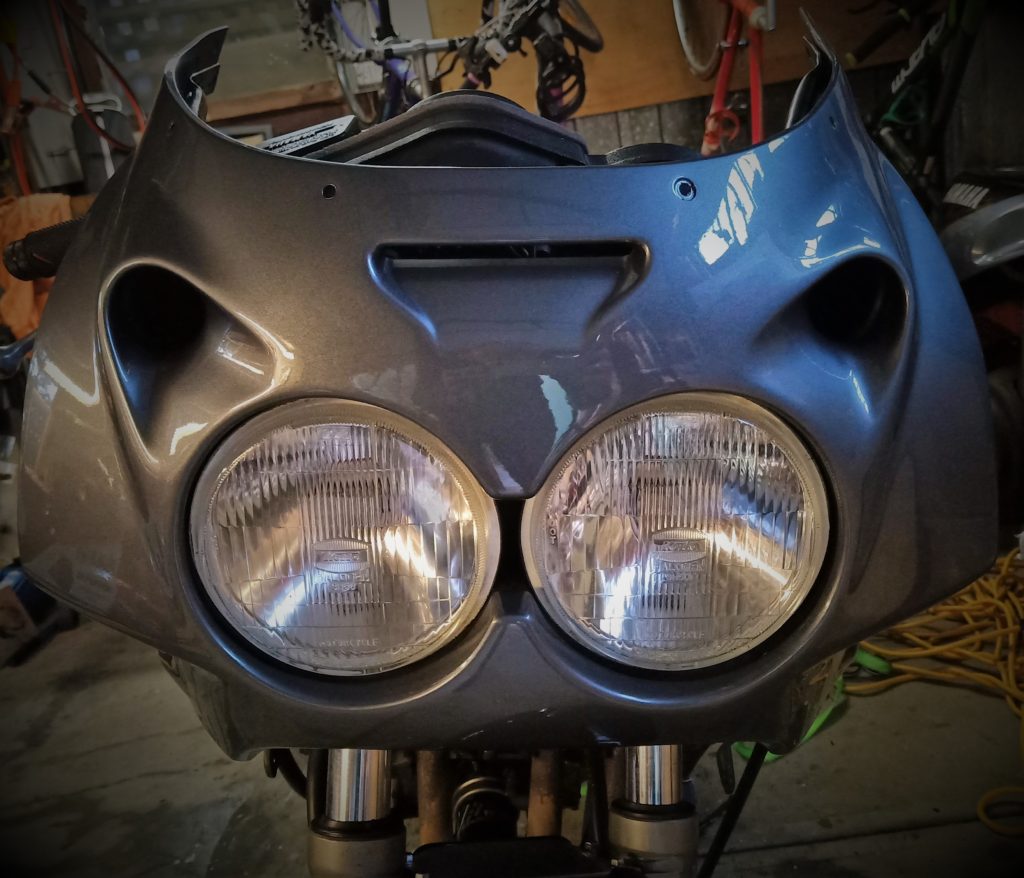
Seeing the metallic grey bug-eyed critter looking back at me gave me a sense that the project could indeed be coming to an end. It all now rested on waiting for the remaining gaskets to arrive via Yamaha World later in the week, to fix the final leaks, make the final connections and refills – and hit that starter button to see what would happen…